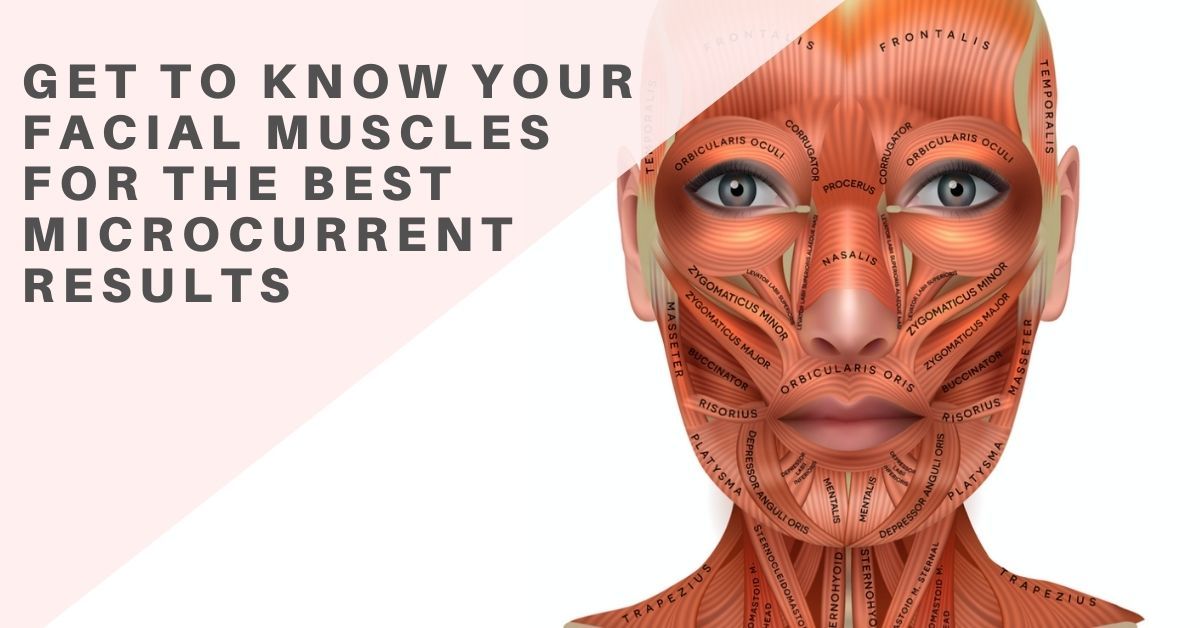
Microcurrent technology for non-surgical facial lifting and toning is a highly effective anti aging skin care tool. So why do some people find it difficult to achieve results and others seem to experience more immediate and noticeable microcurrent results? If you find yourself asking this question, it’s time to put some focus into understanding what microcurrent technology is actually doing. and even refer to a microcurrent facial chart to better visualize muscle groups.
Microcurrent Treats the Muscles of the Face
Let’s take it back to the basics. True Microcurrent™ is a fantastic tool that takes sagging, dull skin and transforms it into tighter, more radiant skin, right? That sure is what it looks like on the surface! But the truth is that microcurrent works much more on the muscles beneath the skin than the skin itself, with the result of more youthful looking skin. Simply put, Microcurrent works by treating the muscles of the face. As a result of the facial muscles being lengthened or shortened the skin that lies on top of those facial muscles appears to lift and smoothen out.
When we circle back to the original question, “why do some struggle to achieve results with microcurrent and others seem to experience immediate results,” the answer can often be found in misuse of microcurrent settings and probes.
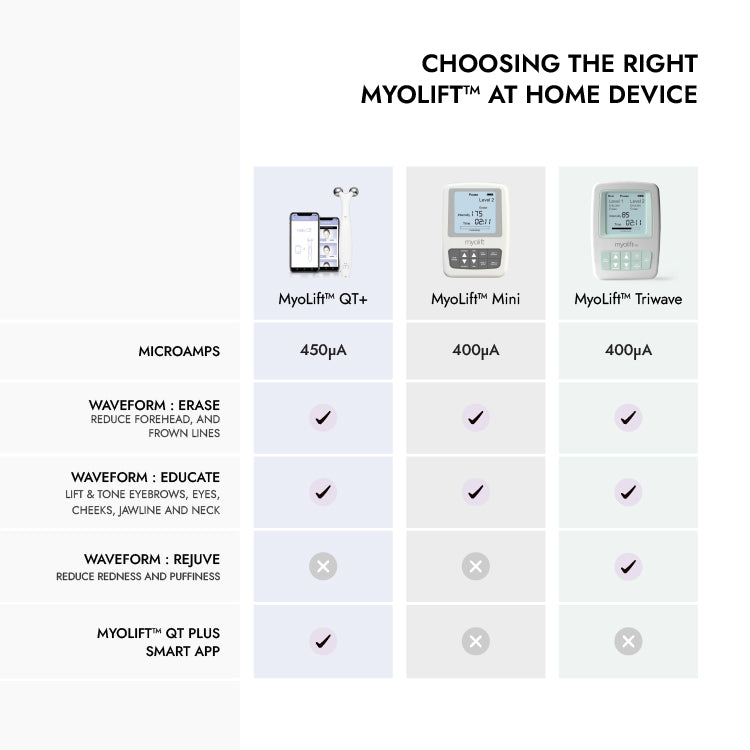
Let’s look at this in terms of our True Microcurrent devices in the MyoLift™ line. Our devices have two settings. With MyoLift™ QT, the settings are Stretch and Lift, with MyoLift™ Mini, the settings are Erase and Educate, and with MyoLift™ 600 the settings are Long and Short. While the names are different, the functionality of the settings are the same (Stretch = Erase = Long, Lift = Educate = Short). To simplify, we will use the Erase and Educate settings in this article.
The Erase setting on your device works to lengthen facial muscles beneath the skin. When you are using the Erase setting you should be working on muscles that contract when used. We contract our facial muscles to help us express our emotions, but overuse of these muscles leads to smile lines, frown lines, bunny lines, crows feet or other areas that commonly show signs of aging on the face. The Erase setting lengthens these muscles, relaxing them and ultimately smoothing out the skin that lies above them.
The Educate setting on your device works to shorten facial muscles beneath the skin. When you are using the Educate setting you should be working on muscles that seem to droop or lose laxity with age. As we age our muscles produce Elastin and Collagen at a much slower rate than when we are younger, leading to undesirable sagging in areas like the cheeks, jowls, eyelids and neck. The Educate setting shortens these muscles, tightening them. The lifting and re-educating of this process brings muscle tone back into the facial muscles for an effective and non-surgical facelift alternative.
If you or your client are using MyoLift™ to treat muscles with the wrong setting, they may not be receiving the full benefit of their microcurrent facial. Because of this, it is important to identify and understand facial muscles that need shortening and facial muscles that need lengthening.

Identifying Facial Muscles that Need Shortening
Muscles that need shortening include:
The Platysma along the sides of the neck and jowls which help tighten the neck and jaw area.
The Depressor Anguli Oris which helps lift the nasal folds to the side of the mouth and nose.
The Levator Superioris Nasi, Levator Superioris and Zygomaticus Major and Minor are cheek muscles that help hold the nasal and cheek bones lift.
The Zygomaticus Major and Minor and Risorius muscles in the cheek that stretch back toward the ear help lift the jowl area when shortened with microcurrent.
The Orbicularis Oculi which is responsible for lifting and tightening the eyelids and under eye.
Identifying Facial Muscles that Need Lengthening
Muscles that need lengthening include:
The Frontalis muscle which lies across your forehead and which is responsible for creating forehead wrinkles.
The Procerus muscle in between the eyes and at the top of the nose which are responsible for creating eleven lines.
The Corrigator muscles which lie above the inside corner of each eye and are responsible for bunny lines.
The Obicularis Oculii muscle which surrounds the entire eye area and is responsbile for wrinkles like crow’s feet.
The Obicularis Oris which surrounds the lips and is responsible for lip lines.
The Mentalis and Depressor Labii Inferioris which are the muscles in the lower lip and chin area responsible for creating creases in the chin.
Why we Must Follow The Correct Facial Muscle Direction with Microcurrent
When performing microcurrent, it is important to make sure you are following the correct movement of the muscles based on the waveform selected. There are three parts to a muscle: origin, belly and insertion. Origin of the muscle is attached to a non-movable bone, the belly is considered the middle, and the insertion is where the muscle is attached to a moveable bone or branched out to another muscle. When wanting to lengthen a muscle (or stretch a muscle), your movements begin at the belly of the muscle and move outward because you are stretching it to lengthen it. If you are trying to shorten and tighten a muscle (or lift a muscle), your movements will begin insertion to origin in a Pinch and Hold movement.
Lifting with Microcurrent after Botox
While microcurrent is safe to use in compliment to Botox, one point our educators want to remind you is that areas with Botox may be more difficult to lift with microcurrent facials. For our suggested guidelines on using Microcurrent safely with Botox, visit our blog post on how the two anti-aging approaches can coexist.

Microcurrent Seems Overwhelming, How Can I Make it Easier?
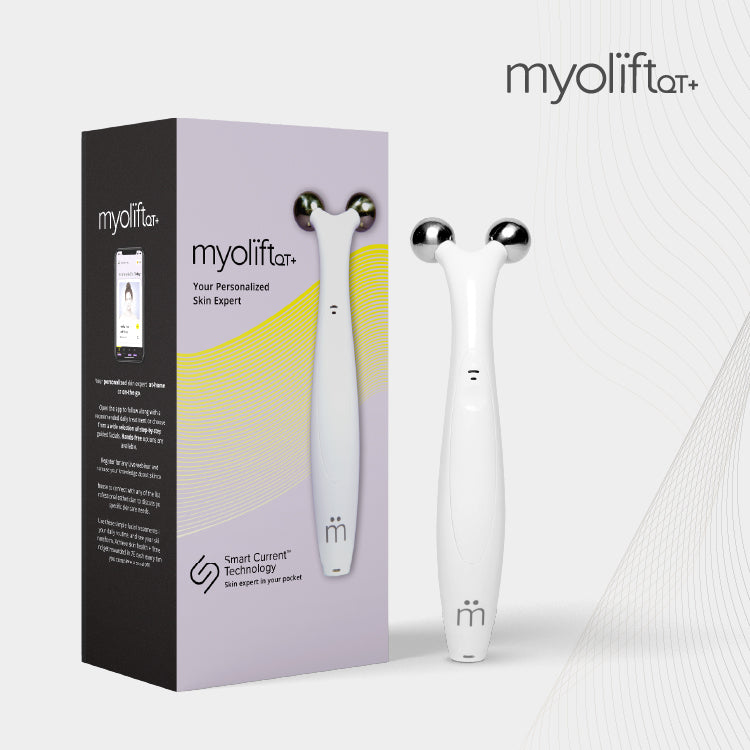
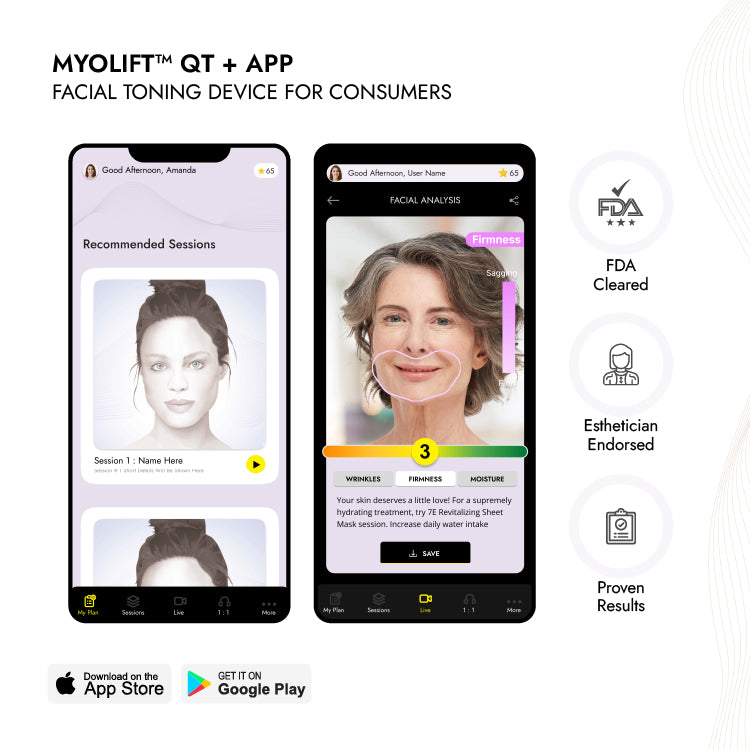
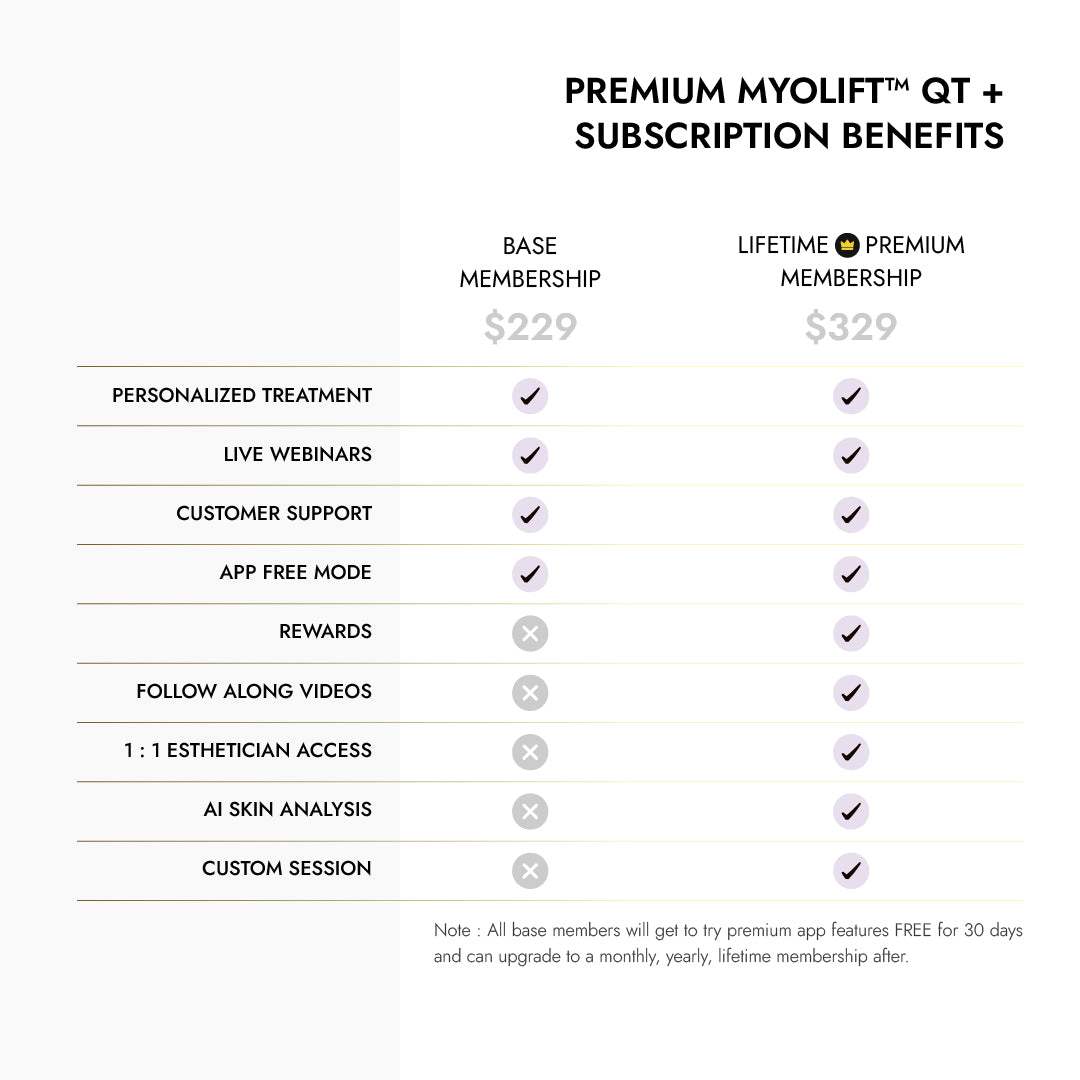
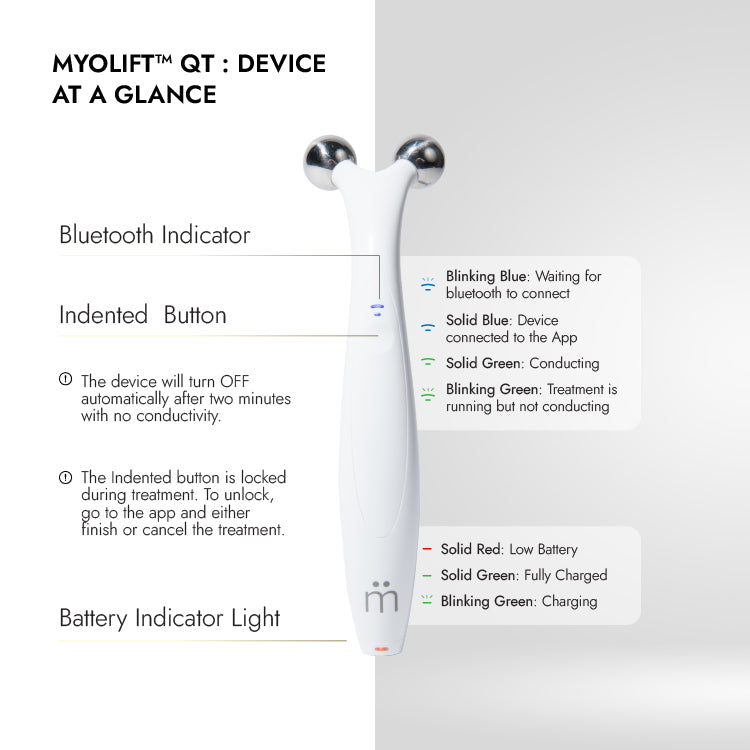
We understand that learning the intricacies, memorizing and perfecting True Microcurrent™ Pinch and Hold movements can create a feeling of overwhelm for those new to this non-surgical facelift technology. If you find yourself completely lost reading this post, we encourage you to start simple. Our MyoLift™ QT device was designed for beginners and home users who are in need of something simpler that still gets the job done. With step-by-step protocols available in the palm of your hand for each treatment, MyoLift™ QT is the microcurrent device we recommend for those who are pressed on time but eager to achieve the best microcurrent results they can from home.
Remember, 7E MyoLift™ specializes in professional microcurrent technology as well as ongoing microcurrent and skincare education. While some of our devices will be overwhelming and more geared toward a professional with previous education on the facial muscles, other devices in our MyoLift™ line are geared toward ease of use without the need for in-depth education.
You can always visit our YouTube Playlist for demonstrations for how to use MyoLift™ devices. Our generous affiliate partners have taken time and energy to create helpful tutorials that can help simplify your microcurrent facial.
Another tip from our team for those who feel overwhelmed by the different facial movements and complimenting microcurrent movements are to practice one movement at a time until you feel comfortable. Pick your trouble area, whether it be crows feet, smile lines or jowl sagging and study the recommended movements for that trouble area. Once you feel confident with that move, add in your next trouble area and so on and so forth.
While this modality takes a moment to familiarize yourself with, countless happy clients of MyoLift would assure you it is well worth the learning curve and that you’ll get the hang of it in no time. When you do, your skin (and muscles!) will thank you with a natural glow and lift for years to come. Keep going!